Installing a GPS in a ACER Spin 3 Laptop.
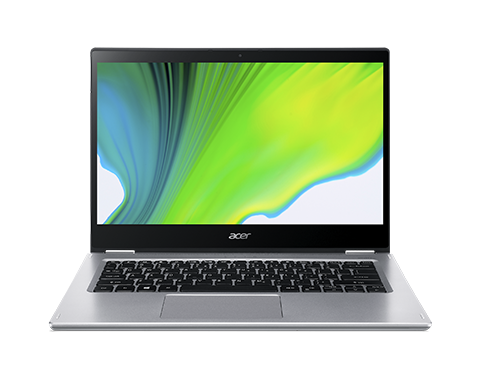
ACER SPIN 3.
Deutsche Version weiter unten.
On a sailing boat, GPS is useful and or even essential for survival. Ok, but paper charts and navigation with them should be mastered by every sailor and practised or used regularly.
Most of our sailing navigation software can be run on small, inexpensive laptops. So no need for expensive big boxes.
But anyone who uses Windows systems knows the pain. No GPS receiver available.
The sailors who use Raspberry’s build a GPS module on the Raspy. Now a Windows laptop is basically nothing else. So I build a GPS into (not onto) my laptop.
The Acer Spin 3 with a AMD Ryzen 3 CPU, 8 GByte RAM and a 256 GB Harddisk
My Acer Spin 3 laptop with an AMD Ryzen 3 CPU, 8 GByte RAM and a 256 GByte hard disk is more than sufficient to run OpenCPN or NV Charts, PC plotters and also more demanding software.
The price is pleasing. At the same time, the Acer Spin 3 makes a very robust impression. One drawback is that the display is reflective. But since I only use the computer below deck, this is not a problem, rather an advantage. The Acer Spin 3 also serves as a TV replacement and the display is perfect for a 14″ screen.
Installation of the GPS module
How much space do I have? That is the first question. So first you unscrew the laptop. At the same time, the hard disk is replaced with a Samsung 980 Evo, which is about 6 times faster than the built-in low-cost card. For 50 euros, this is a valuable improvement with lower power consumption.
There are two possible areas to install a GPS module. On the side above the first hard disk or on the opposite side in the area where you could install a second hard disk. The latter makes more sense because it is closer to the connections and it somehow looks like the laptop was just waiting for someone to come along and install a GPS right there.
The maximum possible dimensions are quickly measured.
29 X 25 mm fits without modifications to the plastic housing. If you manipulate the housing a little, then up to 35 X 35 mm will work. But that is not what I want.
I see, the height is even more important. A maximum of 10mm height, otherwise it will jam.
Thus, an essential criterion for the choice of the GPS module has been met. In addition, it must be able to withstand a voltage of up to 5.5 volts. The search was quick and in the end I ordered a module from China, as I always do.
The Beitian BN-180 GPS
According to the manufacturer, the smallest module on the market. I don’t look any further because all the values are correct. I can only guess the height from the pictures and in relation to the side dimensions. It should fit well. Ordered!
That’s where I am at the moment.
Stay Connected!
The USB 3 connection takes care of the power supply and the data connection. This is not dramatic, as the Acer Spin 3 still has a USB 2.0 and a USB C port. I can cope with that. Since I also use the laptop to save any trip pictures, I either use the USB C connection or the SD card slot. It’s not supposed to be the fastest, but hey, I have time!
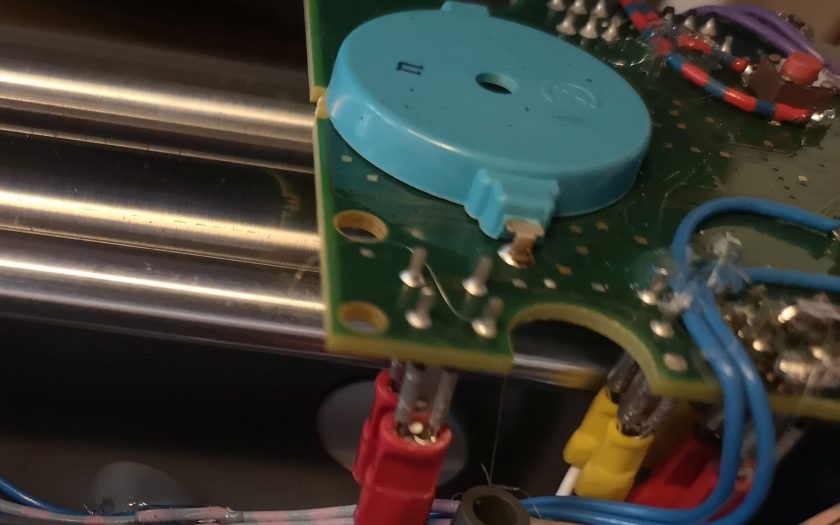
The connection is simple, just solder the wires to the pins of the USB 3.0 and you’re done. I will only have to get a new fine soldering tip, as I have just 1 mm clearance to nearby components.
And now I’m waiting for the GPS module to be delivered……
Deutsche Version
Auf einem Segelboot ist GPS sinnvoll bis teils überlebenswichtig. Ok, Papierseekarten und die Navigation mit selbigen sollte jeder Segler beherrschen und regelmäßig üben bzw. einsetzen.
Unsere Segel Navigationssoftware ist zumeist auf kleinen, preiswerten Laptops lauffähig. Also kein Bedarf an teuren großen Kisten.
Aber, wer mit Windows Systemen unterwegs ist der kennt den Schmerz. Kein GPS Empfänger verfügbar.
Die Segler die mit Raspberry´s unterwegs sind die bauen sich ein GPS Modul an den Raspy. Nun ist ein Windows Laptop ja im Grund nichts anderes. Also baue ich mir ein GPS in (nicht an) meinen Laptop.
Das Acer Spin 3 Laptop mit einer AMD Ryzen 3 CPU, 8 GByte RAM und einer 256 GByte Festplatte ist mehr als ausreichend um OpenCPN oder NV Charts, PC Plotter und auch anspruchsvollere Software laufen zu lassen.
Der Preis ist erfreulich. Dabei macht der Acer Spin 3 einen sehr robusten Eindruck. Manko, das Display spiegelt. Da ich den Rechner aber nur unter Deck einsetze ist das kein Problem, eher ein Vorteil. Der Acer Spin 3 dient uns gleichzeitig als TV Ersatz und da ist das Display bei 14″ Größe perfekt.
Einbau des GPS Moduls
Wieviel Platz habe ich? Das ist die erste Frage. Also schraubt man den Laptop erst einmal auf. Bei der Gelegenheit wird gleich die Festplatte gegen eine Samsung 980 Evo ausgetauscht, die ca. 6 X schneller ist als die verbaute Low Cost Karte. Für 50,- eine wertvolle Steigerung bei gleichzeitig niedrigerem Stromverbrauch.
Es gibt zwei mögliche Bereiche um ein GPS Modul einzubauen. Auf der Seite über der 1. Festplatte oder auf der gegenüberliegenden Seite im Bereich in dem man eine zweite Festplatte einbauen könnte. Der letztere ist sinnvoller, da er näher an den Anschlüssen liegt und es irgendwie aussieht als hätte der Laptop nur darauf gewartet, dass da einer kommt und genau da ein GPS einbauen will.
Die maximal möglichen Maße sind schnell ausgemessen
25 X 25 mm passt ohne Änderungen am Plastikgehäuse. Wenn man ein wenig am Gehäuse manipuliert, dann gehen bis zu 35X35 mm. Das ist aber nicht was ich will.
Ach so, die Bauhöhe ist noch entscheidender. Maximal 10mm Bauhöhe, sonst klemmt es.
Das Beitian BN-180 GPS
Nach Aussagen des Herstellers, dass kleinste Modul am Markt. Ich suche nicht weiter, da alle Werte stimmen. Einzig die Bauhöhe kann ich lediglich aus den Bildern und in Relation zu den Seitenmaßen erahnen. Müsste gut passen. Bestellt!
Soweit bin ich aktuell.
Anschluss bitte!
Die Versorgung und die Datenverbindung übernimmt der USB 3 Anschluss. Das ist nun nicht dramatisch, da der Acer Spin 3 noch einen USB 2.0 sowie einen USB C Anschluss hat. Damit komme ich zurecht. Da ich den Laptop auch zum Speichern etwaiger Törnbilder nutze, nutze ich entweder die USB C Verbindung oder den SD-Karten Slot. Der soll nicht der schnellste sein aber hey, ich habe Zeit!
Die Verbindung ist simpel, Die Leitungen an die Pins des USB 3.0 löten und fertig. Lediglich eine neue feine Lötspitze werde ich mir besorgen müssen, da ich hier gerade mal 1 mm Spiel zu naheliegenden Bauteilen habe.
Und jetzt gilt es zu warten, bis das GPS Modul geliefert wurde und dann geht es weiter!
Weiterlesen
Neueste Kommentare